 +38 050 355 22 70
+38 050 347 79 74
+38 098 591 40 79
+38 050 355 22 70
+38 050 347 79 74
+38 098 591 40 79
Express course on applying Bioplast liquid wallpaper
The technology of applying liquid wallpaper is more like putty than pasting, because in terms of structure this coating is not similar to rolled wallpaper. Liquid wallpaper is supplied in the form of a dry mixture. Before use, you need to add water, let it soak, and then apply to the walls.
But first the walls must be prepared. And this is one of the most important stages of proper application. So, what walls can be prepared for applying liquid wallpaper? The most typical surfaces for applying Bioplast liquid wallpaper:
- Drywall
- Gypsum plaster
- Cement-lime plaster
- Others*
The processing process for each type of surface:
Drywall:
- AQUABLOCK acrylic primer
- Putty with finishing putty
- Re- prime with AQUABLOCK
- We apply liquid wallpaper
Gypsum plaster:
- We cover the walls with AQUABLOCK acrylic primer, without additional steps*
- We apply liquid wallpaper
*Walls covered with gypsum plaster do not need to be puttied - it is enough to apply AQUABLOCK acrylic primer if the surface is even. Liquid wallpaper hides minor defects on its own.
❗ But if the irregularities are very noticeable, then it is worth additionally leveling them with finishing putty before applying the primer.
Cement-lime plaster:
- AQUABLOK acrylic primer
- To putty
- Repeatedly we prime
- We apply liquid wallpaper
*Bioplast liquid wallpaper adheres to clay, wooden, concrete and cement-sand surfaces. You can view the instructions at the link.
Acrylic primer - concentrate AQUABLOCK
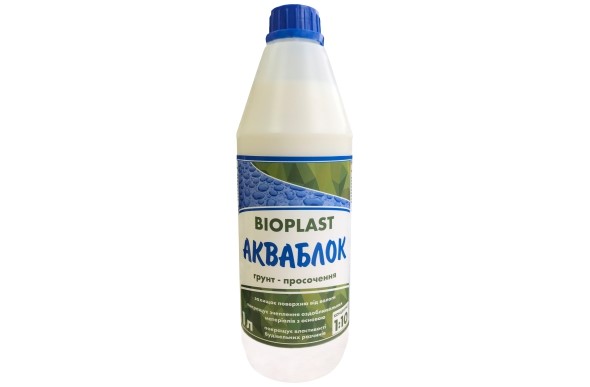
Acrylic primer concentrate AQUABLOCK – is a universal product of TM Bioplast , which can be used both in concentrated and diluted form.
The main advantage is cost-effectiveness! Since it is a concentrate, it can be diluted with water in the desired proportion, it all depends on the surface.
To treat these walls, we need to use it in diluted form, because we need acrylic primer. Simply dilute in a ratio of 1:10 (1 bottle per 10 liters of water) - and we get 11 liters of ready primer! It is diluted with plain water, which is very convenient and economical.
Preparing liquid wallpaper
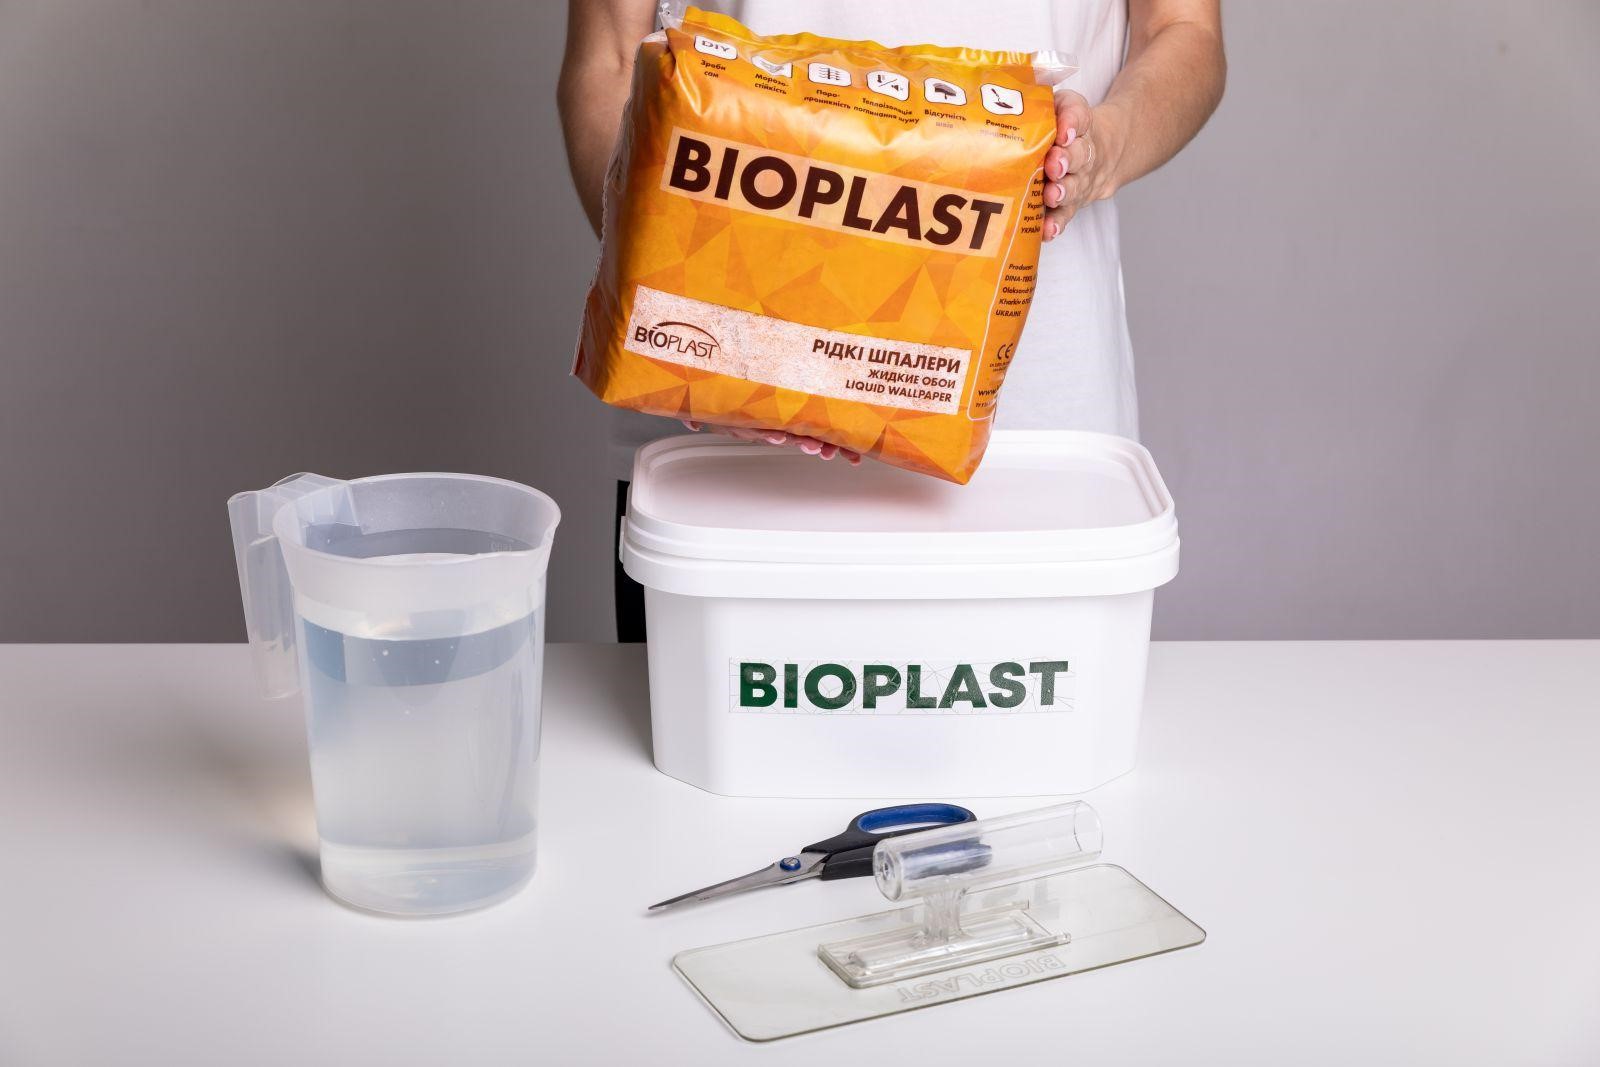
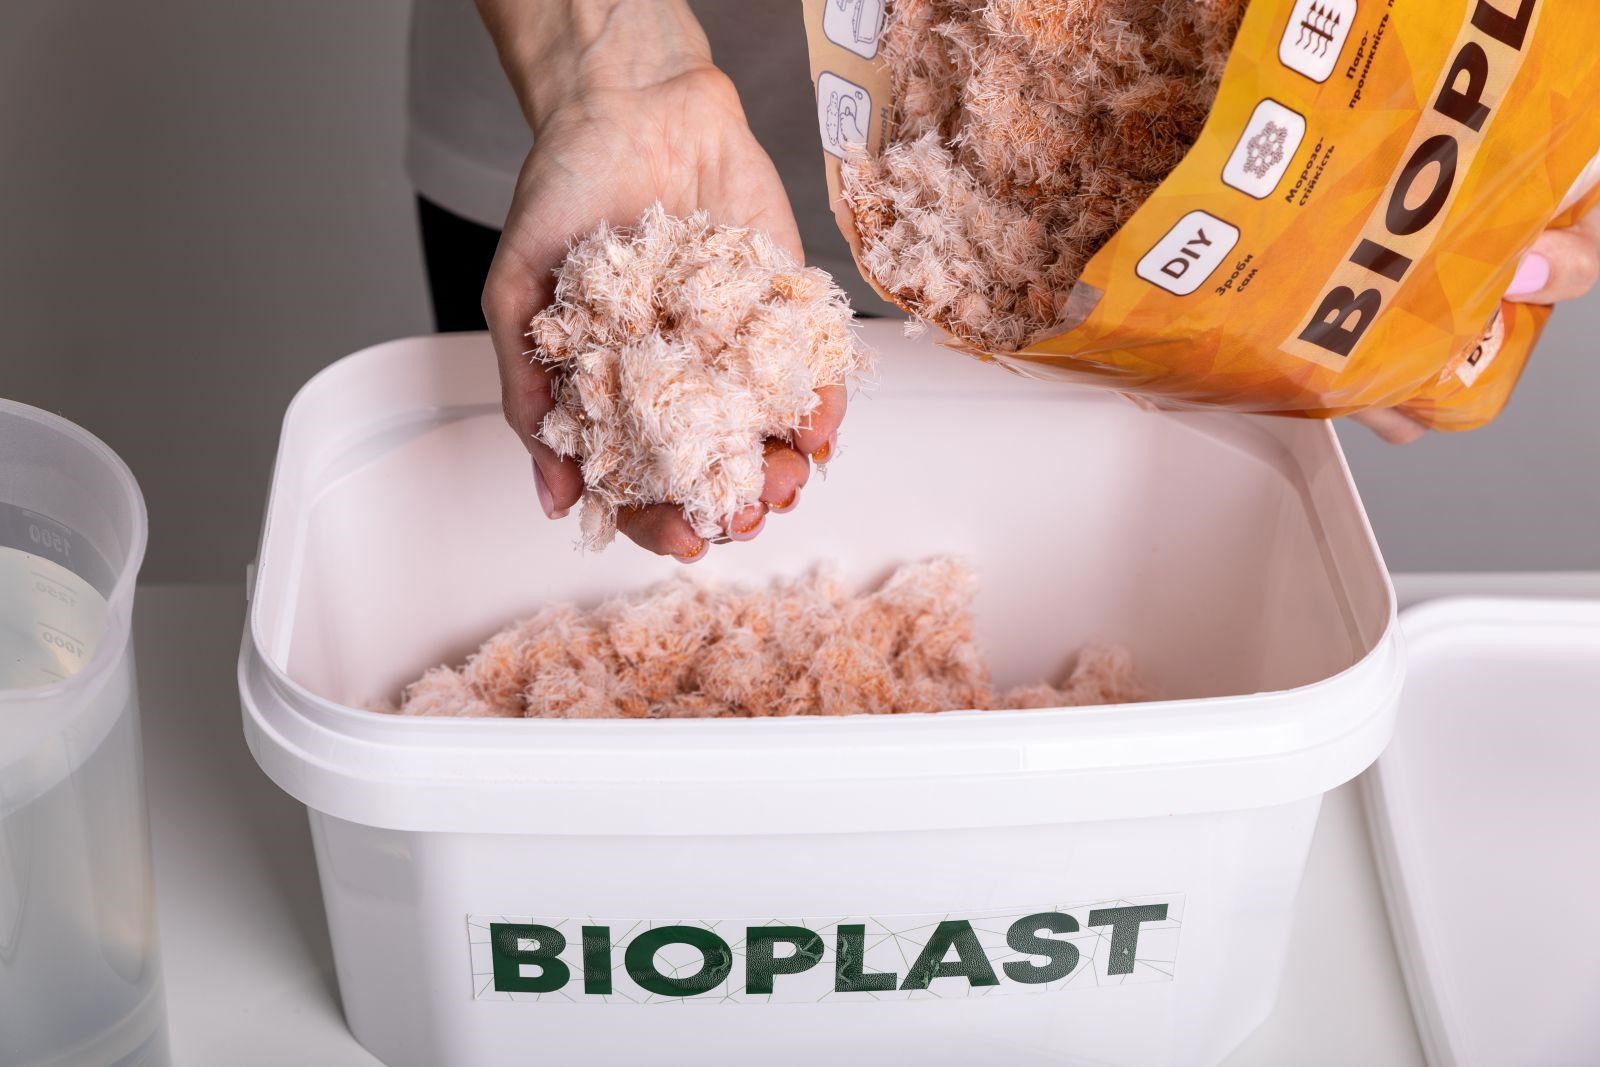
After the walls are prepared, the preparation of liquid wallpaper begins. Pour the dry mass from the bag into a container and fill it with warm water (approximately 40 °C). The water must be clean, without impurities. Warm water dissolves the adhesive component, so the wallpaper becomes plastic.
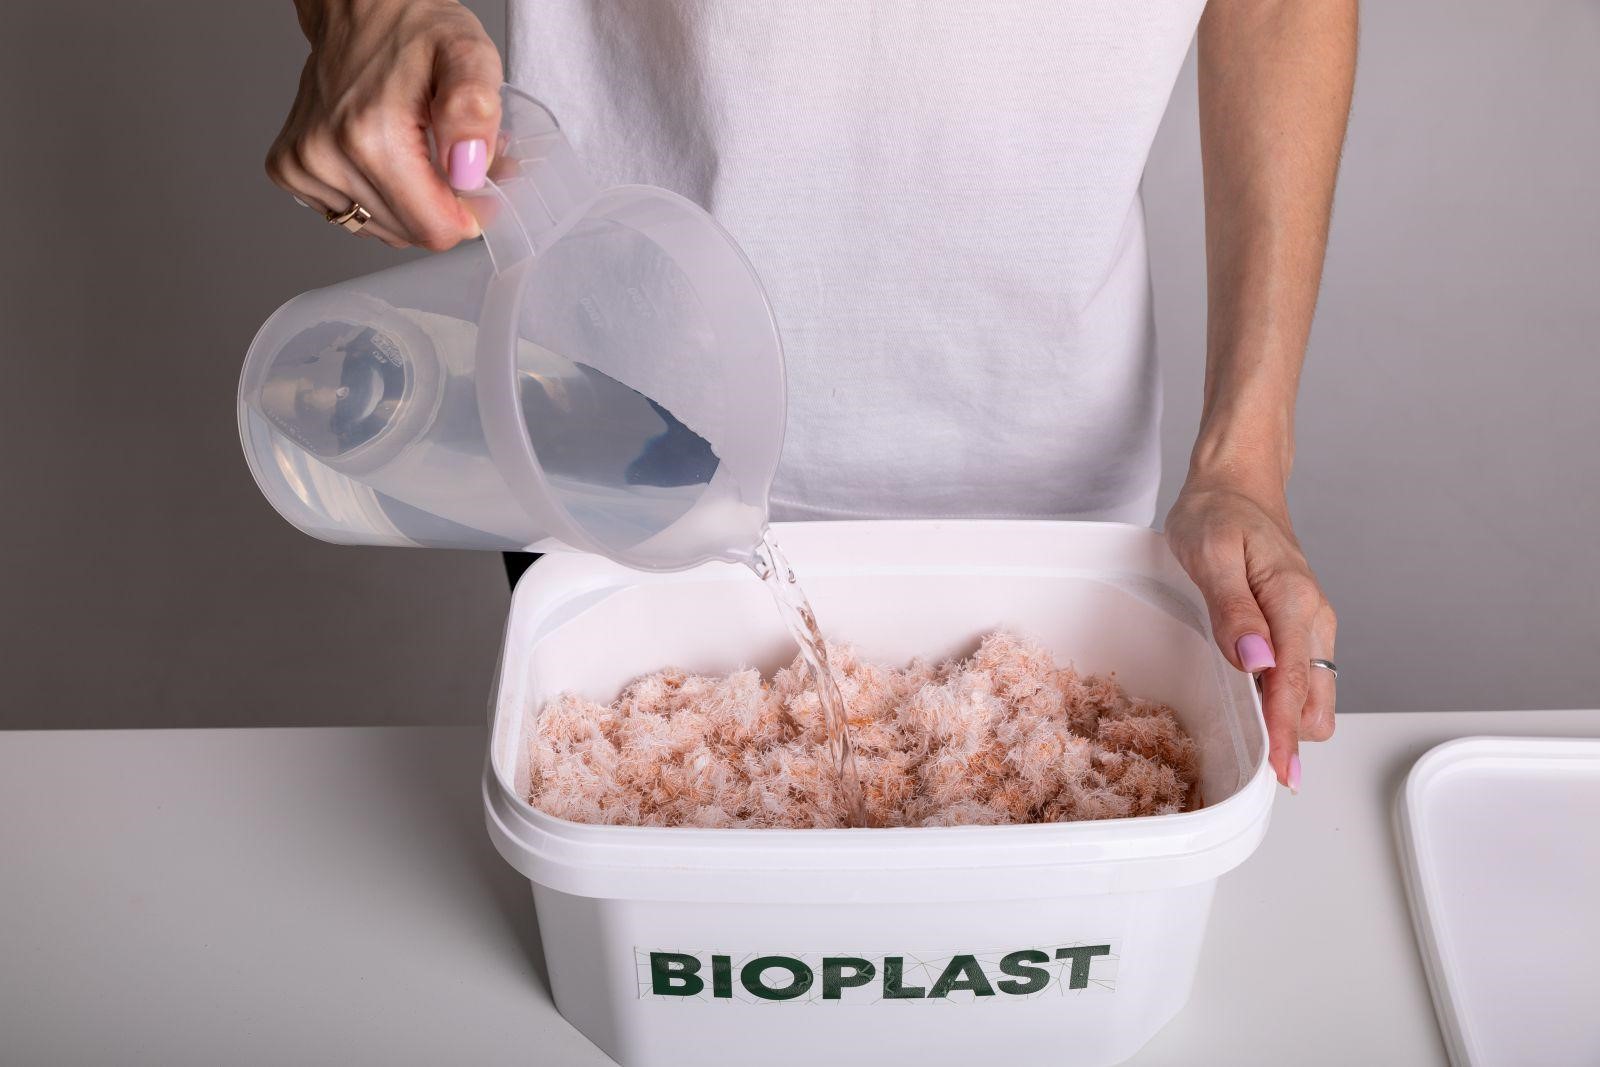
It is important to mix the working mixture correctly, but do not use a mixer for this, as the fibers in the composition may be damaged and the texture will be broken. Mix the mixture by hand only. After mixing, the mass is left to soak for 8 hours. The prepared working mixture can be stored for up to 5 days without losing its properties.
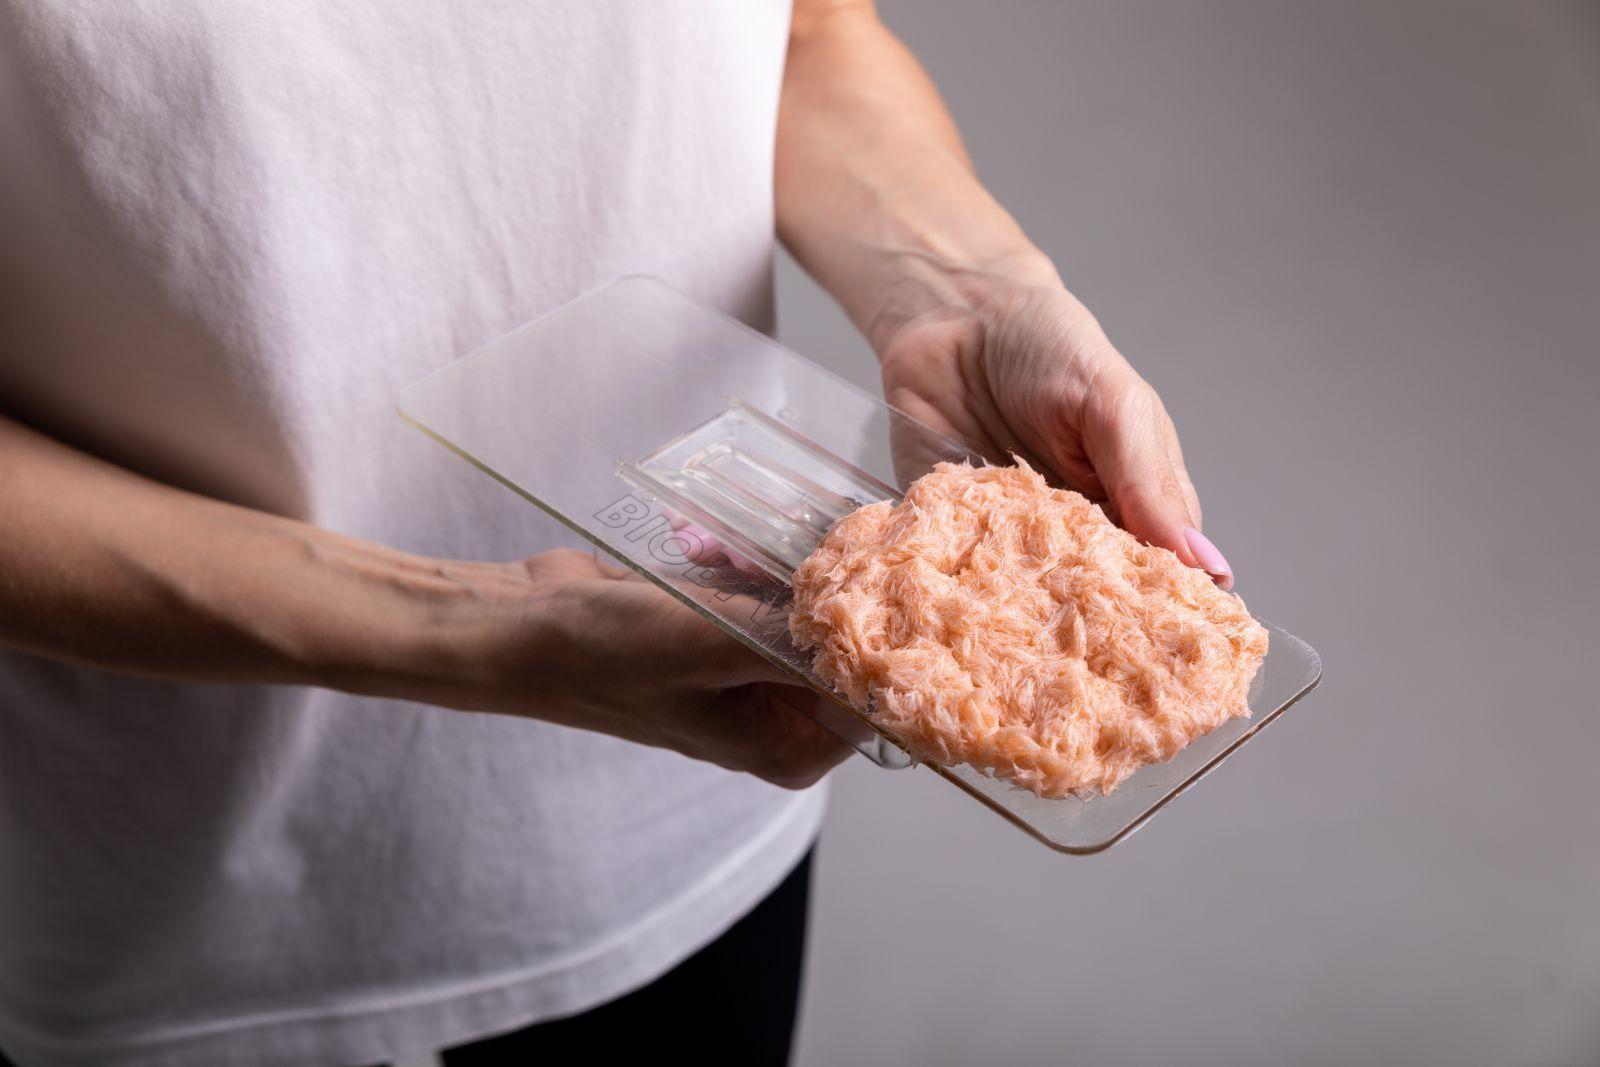
Applying liquid wallpaper
Liquid wallpaper is applied to the walls with a special plastic trowel. The thickness of the layer should be 1-2 mm. depending on the article number. This value is used in calculating the material consumption. If you make a layer larger, then the consumption will increase.
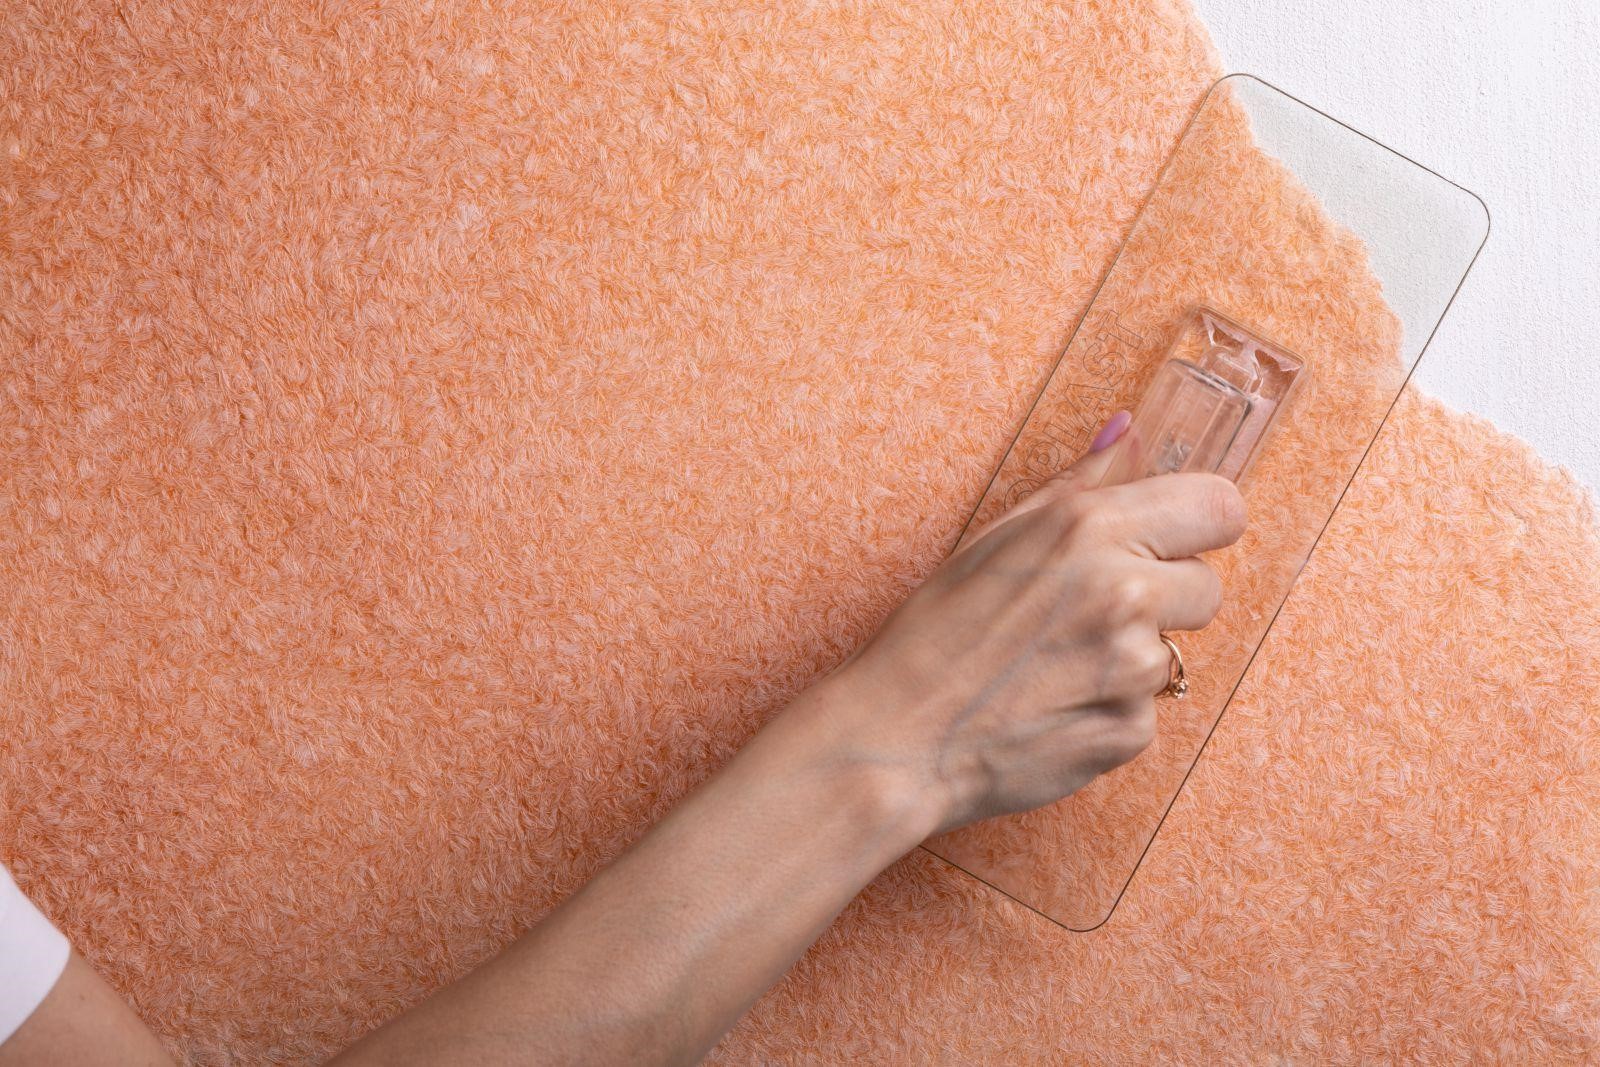
Basic rules for applying liquid wallpaper
It is necessary to collect the prepared solution on a trowel, apply it to the surface and rub it with a thickness of 1-2 mm. The trowel is held at a slight angle during work - up to 15 degrees in the direction of movement. We recommend that you practice the first application experience on a flat, straight section of the wall, while it is advisable to make movements from right to left, provided that the trowel is in your right hand - this will make the task easier for you and will allow you to avoid touching the finished coating with your left shoulder. Application in one plane must be done with material from one batch, from corner to corner. Compliance with this condition guarantees a uniform color and texture pattern on the surface to be coated.
That's all - I hope you enjoyed today's express course from TM Bioplast.
Create a stylish interior with natural materials right now. Order now.


